ANDERSON DIORAMA
ANDERSON’S DIORAMA
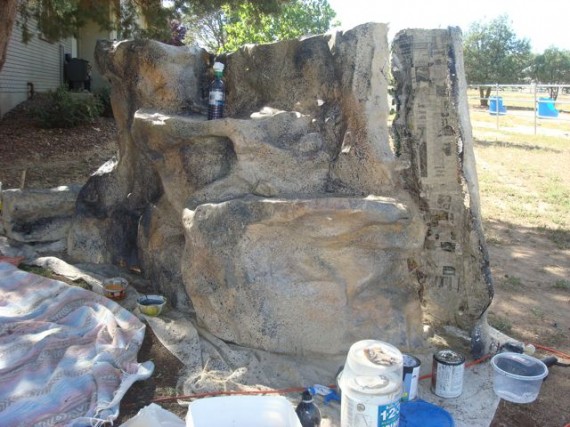
So for a few years now, I’ve been doing landscape murals for Wildlife Images in Scottsdale that were painted in after some company or guy or whoever fabricated these really cool fiberglass rocks. They look super real, so strong you can dance on them yet light enough to pick up a huge boulder with one hand, plus you can make them any shape you want, they are waterproof and do fine out in the elements if they are outside. Anyway, I got a commission to do a mural with rocks in front of it. This was a private commission so I could do what I wanted. I just googled directions on how to make the rocks and got busy! Here’s a couple of pics of the work in progress…
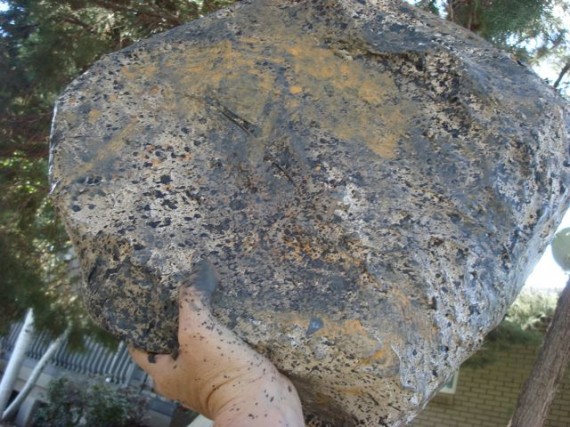
The way I made these was to first use chicken wire to get the general shape of the rocks, then I paper mache’d over the chicken wire. This part took a long time, like 3 days! It needed 3 layers to make sure it had strength so I could move the ‘rocks” outside without altering the shape since they needed to fit precisely into it’s space. I made the rocks in 3 different large sections, plus a freestanding rock I affectionately dubbed the “HERCULES rock” cause you could lift this giant rock over your head and pretend like you’re Hercules! Here’s me painting the Hercules rock…
Next was the disgusting, stinky and messy part. And sometimes painful! I got fiberglass cloth and fiber and laid it on the paper mache’, glued on with fiberglass resin, then laid another coat of the resin on top of the cloth. Ya have to wear these thick black rubberized gloves for this, but the resin still got on my hands, clothes and even in my hair, which had to be cut out. It had to be done outside cause if not I’d totally be brain damaged from the smell! This part had 2 layers on it, 3 in some areas of extra stress. When it was all dry and my mess was cleaned up, my brother Bill and I hauled the pieces back into the house and with giant screws and washers, mounted the rocks to the walls. I hid the washers and gaps with that foam insulation junk in a can that sprays on and expands to fill in gaps. Oh and also, before we brought the rocks in, I painted them mostly done. Once installed, I did touch ups. The floor of the diorama was covered with a layer of resin and I threw coarse rocky sand on it, then some fine sand to keep the resin from shining.
This technique is good for indoor murals. Next, I want to try my hand at doing some of these outside, but use a technique I learned from an Australian artist I found, using a cement mix and carving techniques….more to come!


